
Columns documentation
This page covers installation, requirements, a first session, the table-types workflow and the known limitations.
The full reference lives inside the panel itself, under Instructions. It ships with the version you are running, so it always describes the build on your machine.
Requirements
- Adobe InDesign 20.3 or later
- Windows or macOS
Columns is a UXP plugin that requests no permissions at all – no network, no file system, no clipboard – so nothing it reads can leave your computer.
Installing
- Install Columns from the Adobe marketplace, through the Creative Cloud desktop application or Adobe Exchange.
- If InDesign was running during the install, restart it.
- Open the panel from Plug-Ins → Columns → Columns.
- Dock the panel or leave it floating. Columns remembers its size and position.
If the menu entry is missing after a restart, confirm in the Creative Cloud desktop application that the plugin finished installing and that it is enabled for the InDesign version you opened.
Your first table
- To start working with a table, put the cursor in it; you can also select a cell, several cells, a column or the whole table.
- Enter a width and confirm with Enter, Tab, or by leaving the field. Steppers and Auto checkboxes apply immediately.
- Watch the information bar. It shows the column count, table width, container width, page width and active unit.
- If you have made changes outside the plugin, select Refresh to read the current number of columns and their widths.
Every confirmed change is one undo step. After each one, Columns reads the widths back from the document and updates the bar.
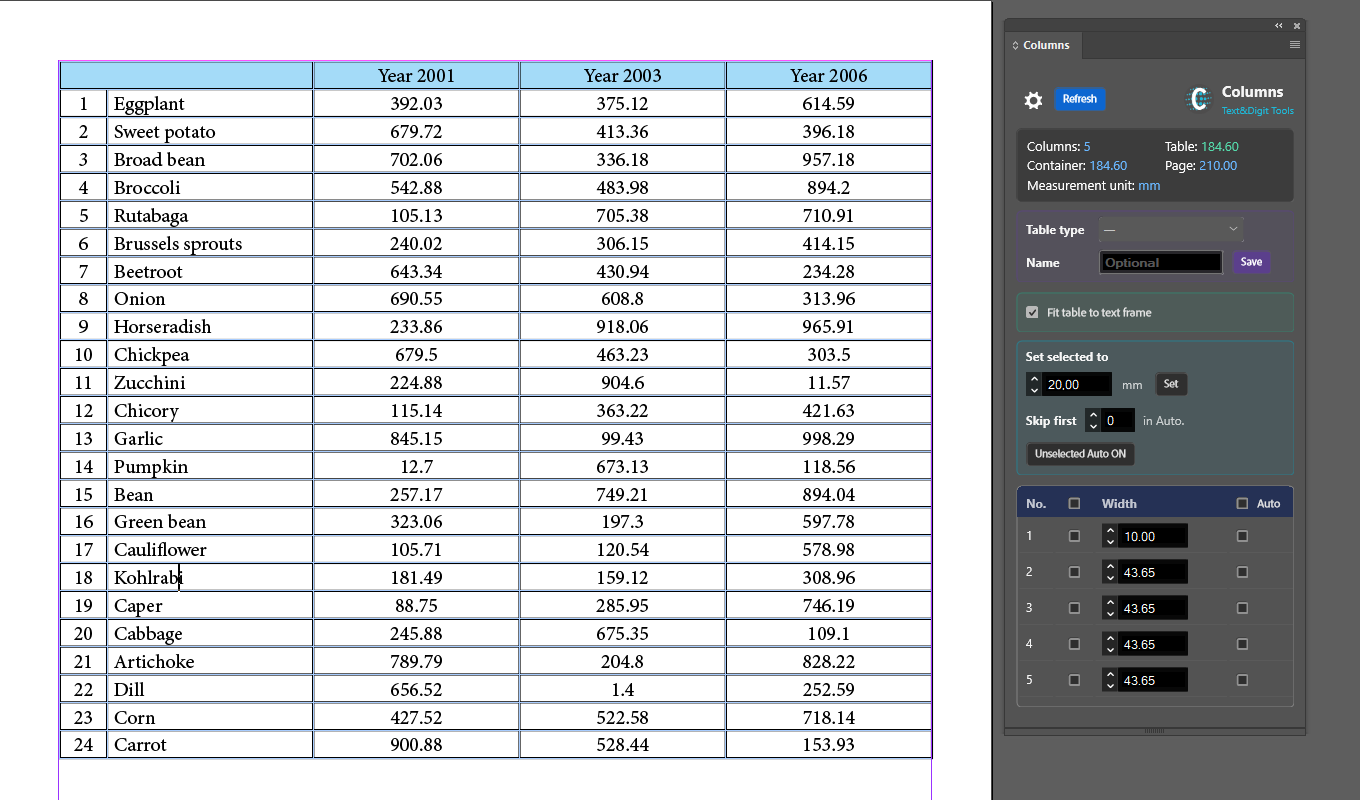
Selecting a column in the document
Clicking a row number in the panel selects that column in InDesign. The number turns blue to show which one is active. On a long document full of tables this is often the quickest way to find the column you mean.
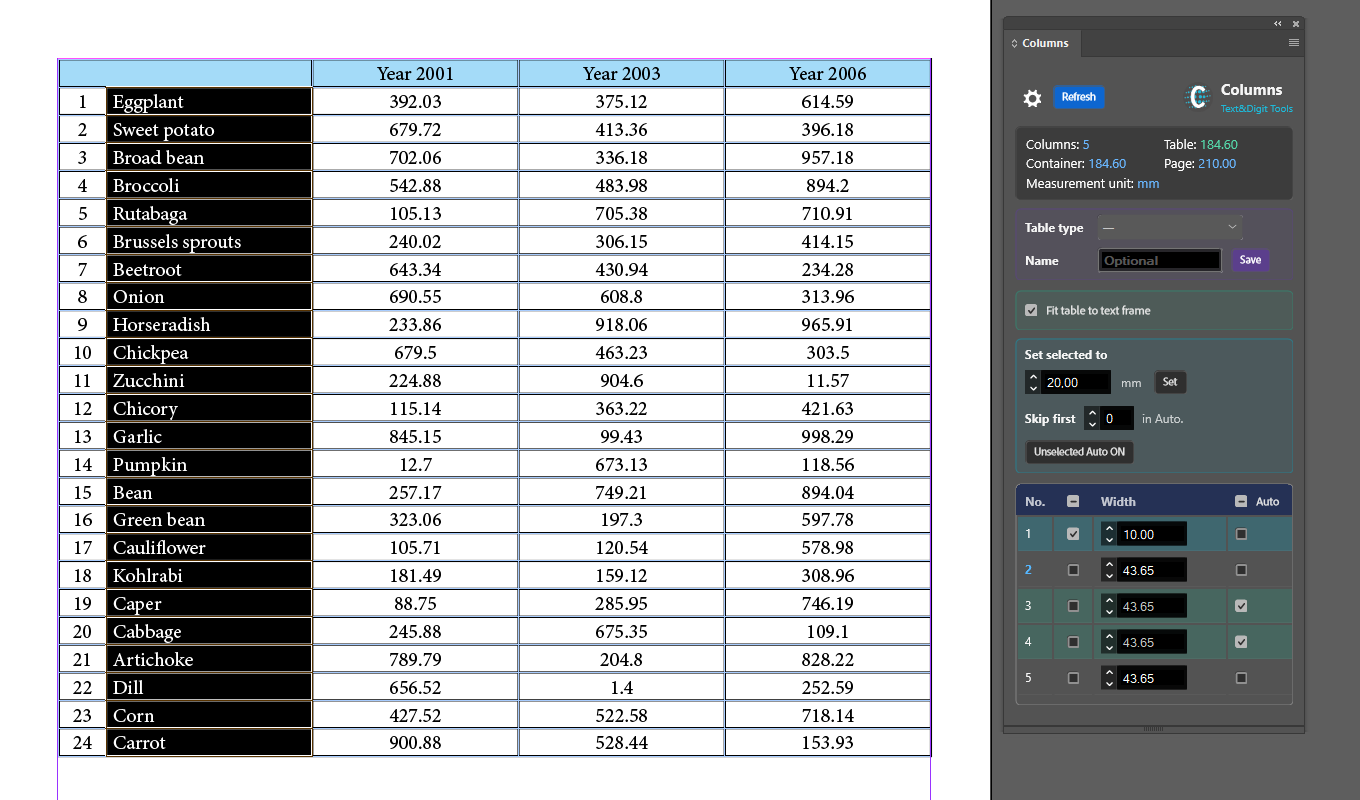
Reading the information bar
The table width is colour-coded:
| Colour | Meaning |
|---|---|
| Green | The table matches the target width exactly |
| Blue | The table is narrower than the container width or the limit you set |
| Orange | The table exceeds the container width or the limit you set |
| Red | The table exceeds the page width |
Exceeding a limit does not block editing. The colour tells you; it does not stop you.
Auto columns and limits
With Fit table to text frame enabled, the target is the container width minus the text frame insets. Turn it off to type your own maximum table width instead.
Manual columns keep their values, and whatever is left is divided among the columns marked Auto. Rounding remainders are distributed, so the total matches the target to within 0.01 of the active unit.
Mixing the two is the common case. Give the columns that need a fixed size a width of their own, mark the rest Auto, and they share whatever is left of your limit.
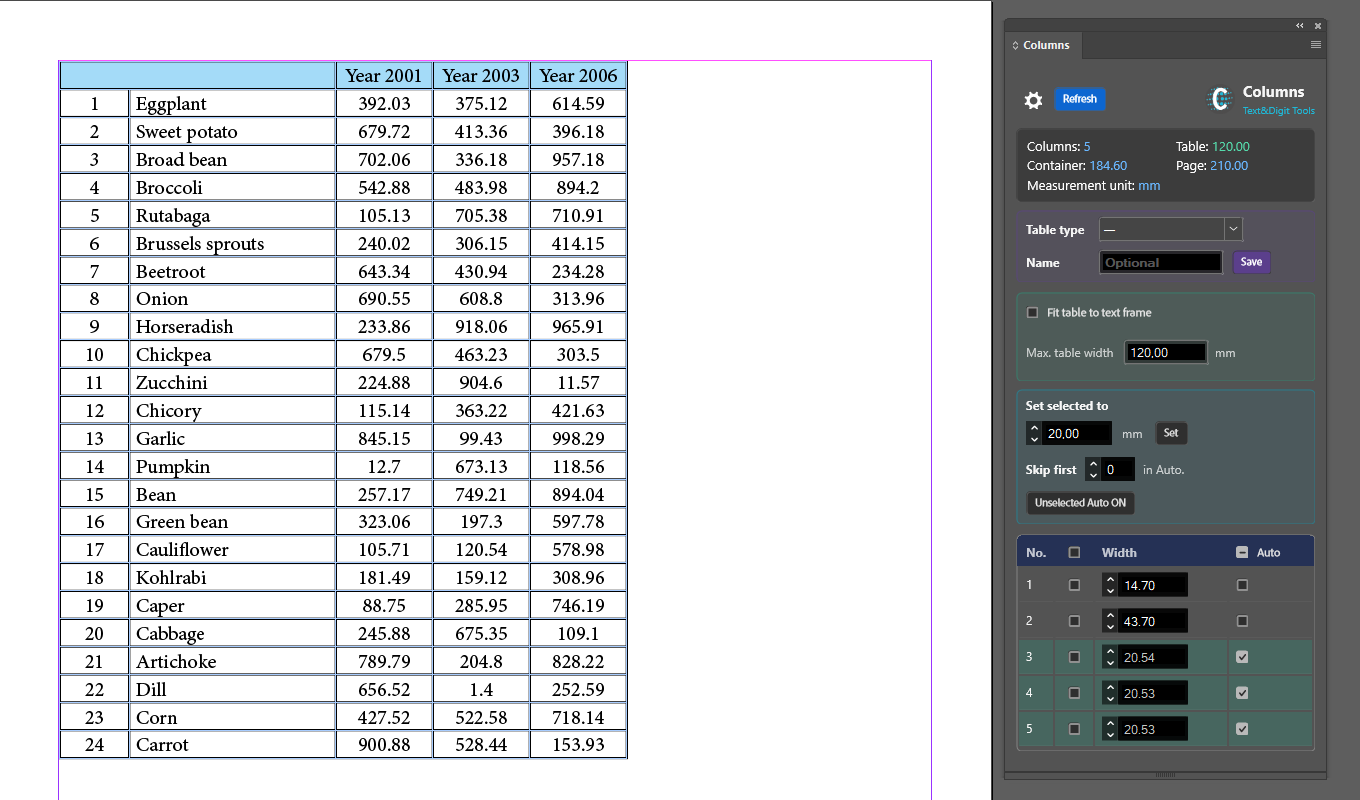
Batch operations
- Set selected to applies one width to every column ticked with a checkbox.
- Unselected Auto ON turns Auto on for every column you did not tick.
- Skip first leaves the given number of opening columns out of a batch Auto operation – useful when a label column should keep its width while the rest divide the remainder.
Batch selection and Auto are mutually exclusive within a row.
Entering values
Columns works in millimetres or points, chosen in Preferences, independently of the document's own unit. Switching units changes the display only – no physical dimension moves.
Every numeric field accepts a comma or a dot as the decimal separator, regardless of the interface language or the active unit, and an optional unit abbreviation with or without a space. 20.5, 20,5 mm, 24pt and 24 pt are all valid. An explicitly typed unit takes precedence over the Preferences setting and is converted for you.
Preferences also holds the interface language, the interface scale for smaller screens, the stepper increment used by the arrows beside each width, and whether Columns asks before overwriting a saved table type.
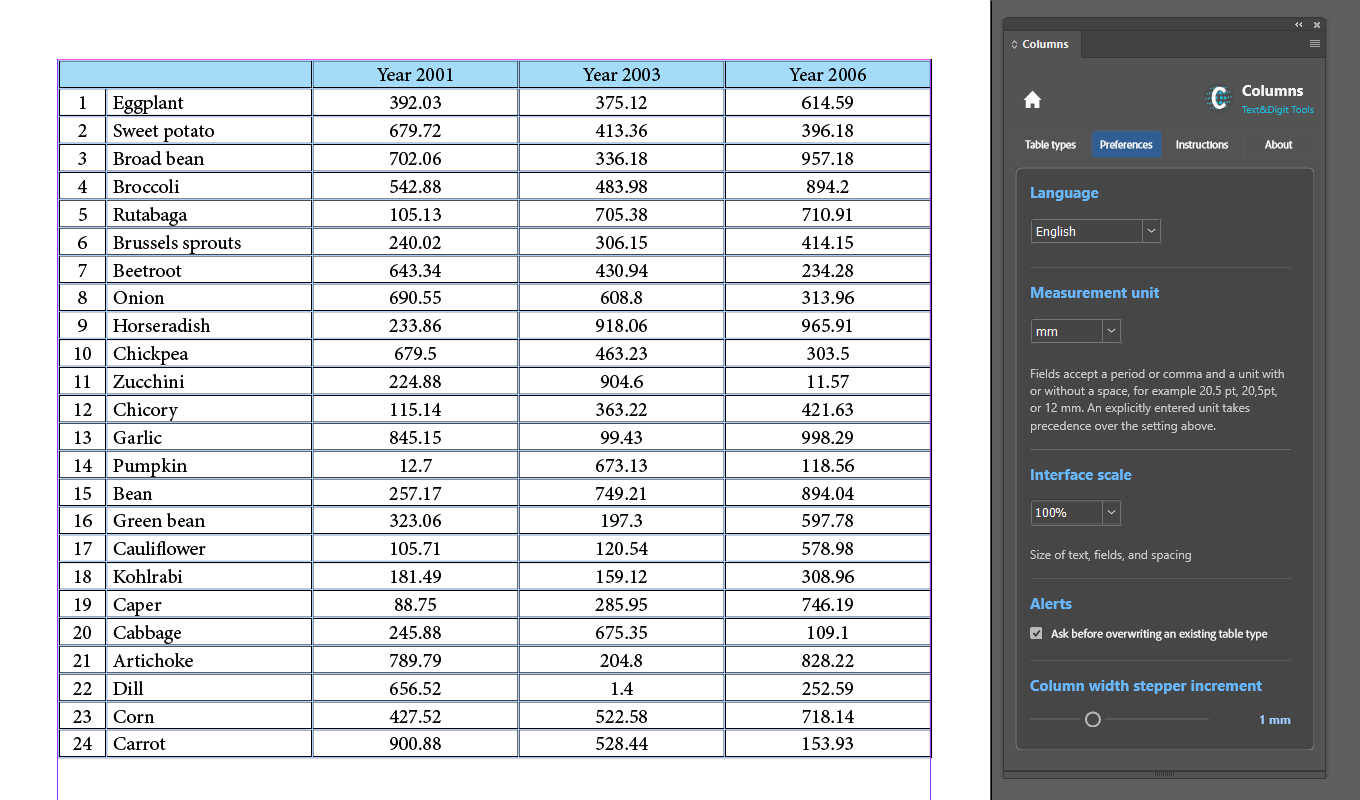
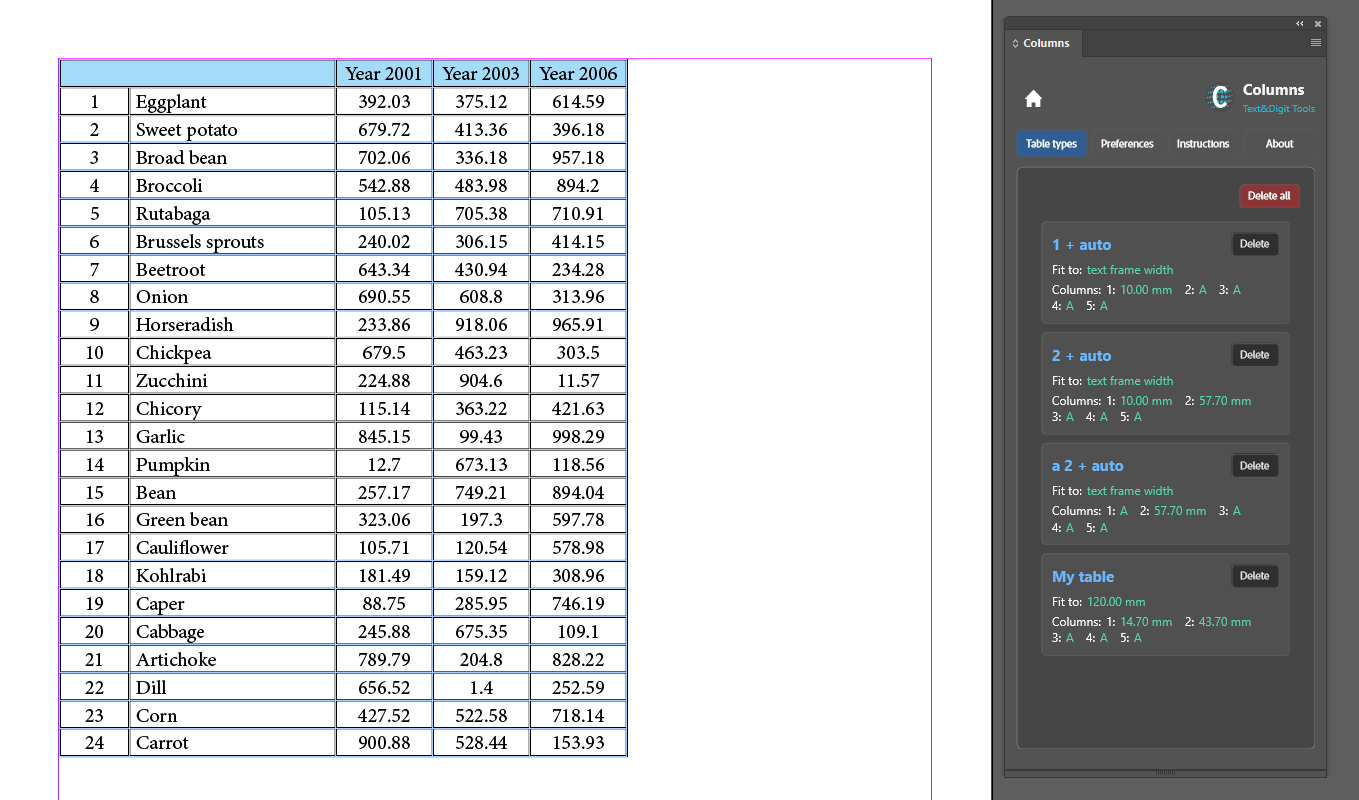
Table types
A table type is a saved set of column widths, Auto settings and a width limit, stored with the table style the current table uses.
A Columns table type is not an InDesign table style. It carries column widths only. The two are stored together but do different jobs, and changing one does not change the other.
- To save a type: set the widths up, type a name, and select Save.
- To use a type: select it from the menu. Its settings are applied to the current table straight away.
- To update a type: load it, prepare the new settings, type the name of the type you want to update, and select Save. Depending on your Preferences you may be asked to confirm the overwrite.
- To manage types: use the Table types tab.
If a table has fewer columns than the type defines, the opening part of the definition is used. If it has more, the extra columns are set to Auto.
Known limitations
These are behaviours to expect, not faults to report.
Refresh after editing a table outside the plugin
Columns re-reads the table automatically when the selection changes, but the listener does not watch geometry. After changing column widths or adding or removing columns directly in InDesign, select Refresh before working in the panel.
This is deliberate: automatic refreshing would overwrite values you had already set up in the panel and not yet applied.
Changing a type does not update existing tables
A table type is applied at the moment you select it. Editing the type's saved settings later does not reach back into tables that were built with it – those keep the widths they were given.
Reported width mismatches
InDesign occasionally stores a width slightly different from the one requested. Columns reads every value back after writing and reports the difference, naming the column and both numbers. This is a report, not an error to work around – it is telling you what the document actually contains.
Auto needs room to work
If the manual column widths already fill or exceed the target, there is nothing left to divide and Columns will say so rather than silently producing zero-width columns. Reduce the manual widths and run the operation again.
Getting help
Write to support@textanddigit.com. Please include your InDesign version, your operating system, the Columns version from the About tab, and what you expected to happen alongside what happened instead.